Opening a Case with Brightcove Support
Brightcove offers a variety of support programs to meet the needs of our customers. For information on these programs, check the Brightcove Support section of our website.
One support option is the Support Portal that can be used to open a case with Brightcove Support
Creating a new support account
Before you can create cases using the Support Portal you have to create an account. To create a new account, follow these steps:
- Access the Support Portal using one of these methods:
- In the application header, click SUPPORT > Contact Support
- Go to https://supportportal.brightcove.com
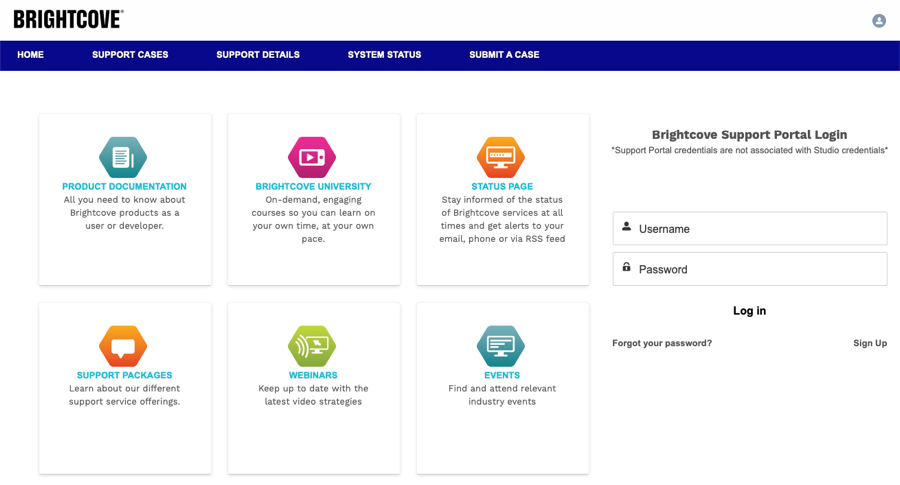
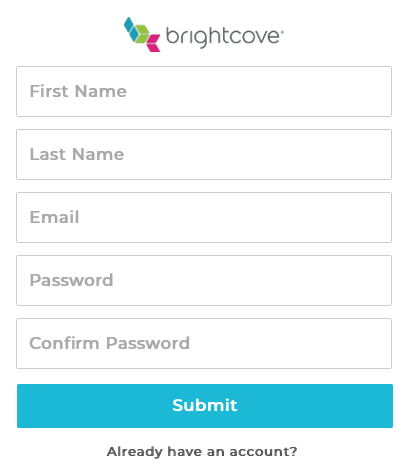
- Click Sign Up.
- Enter your First Name, Last Name, Email and Password. Click Submit.
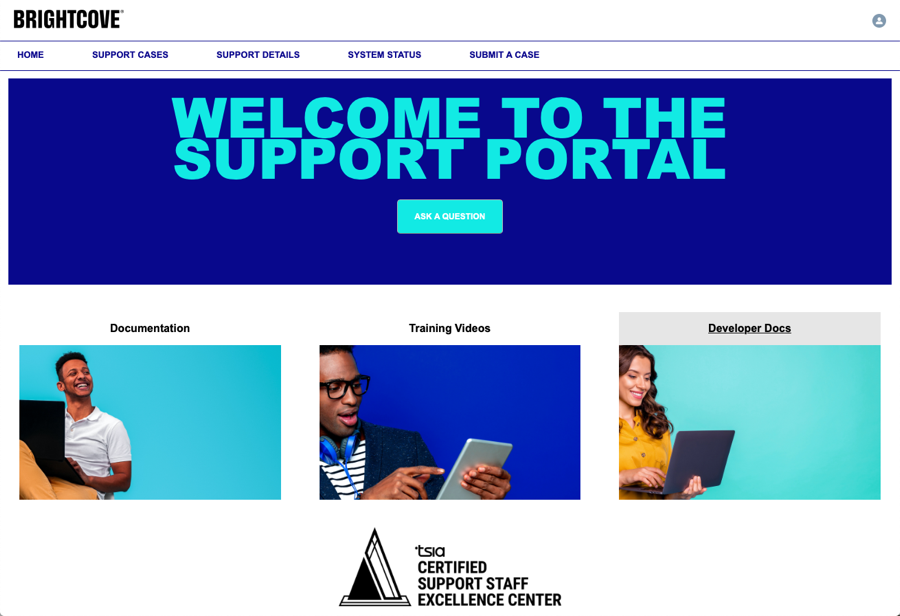
- Confirm that you are redirected to the Brightcove Support Portal home page.
Opening a support case
To open a case with Brightcove Support using the Support Portal, follow these steps:
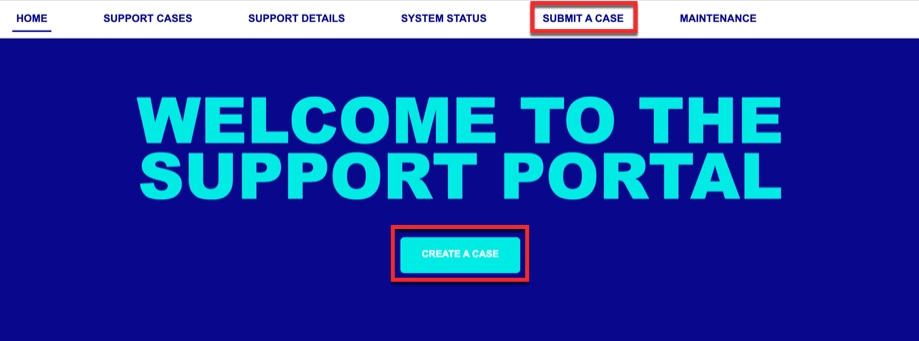
- Log in to the Brightcove Support Portal at https://supportportal.brightcove.com.
- Click SUBMIT A CASE in the page header, or click CREATE A CASE.
Create a Case - Enter case information:
- Subject - Title of the case
- Description - Description of the issue, question or problem
- Priority
- P1 - Critical - Loss of a Brightcove Service or critical loss of significant publishing availability to a live production player
- P2 - Important - Brightcove Service is operational, but there are blocking issues regarding expected publishing capabilities specific to a live production player (i.e. relating to uploads, console activity, specific players).
- P3 - Normal - Requests which are not defined as Critical or Important (including requests for account/user modifications)
- Product - The Brightcove application to which the support request relates to
- Brightcove Account - Account name where the support request relates to
- URL - Page URL where the issue can be observed (if available)
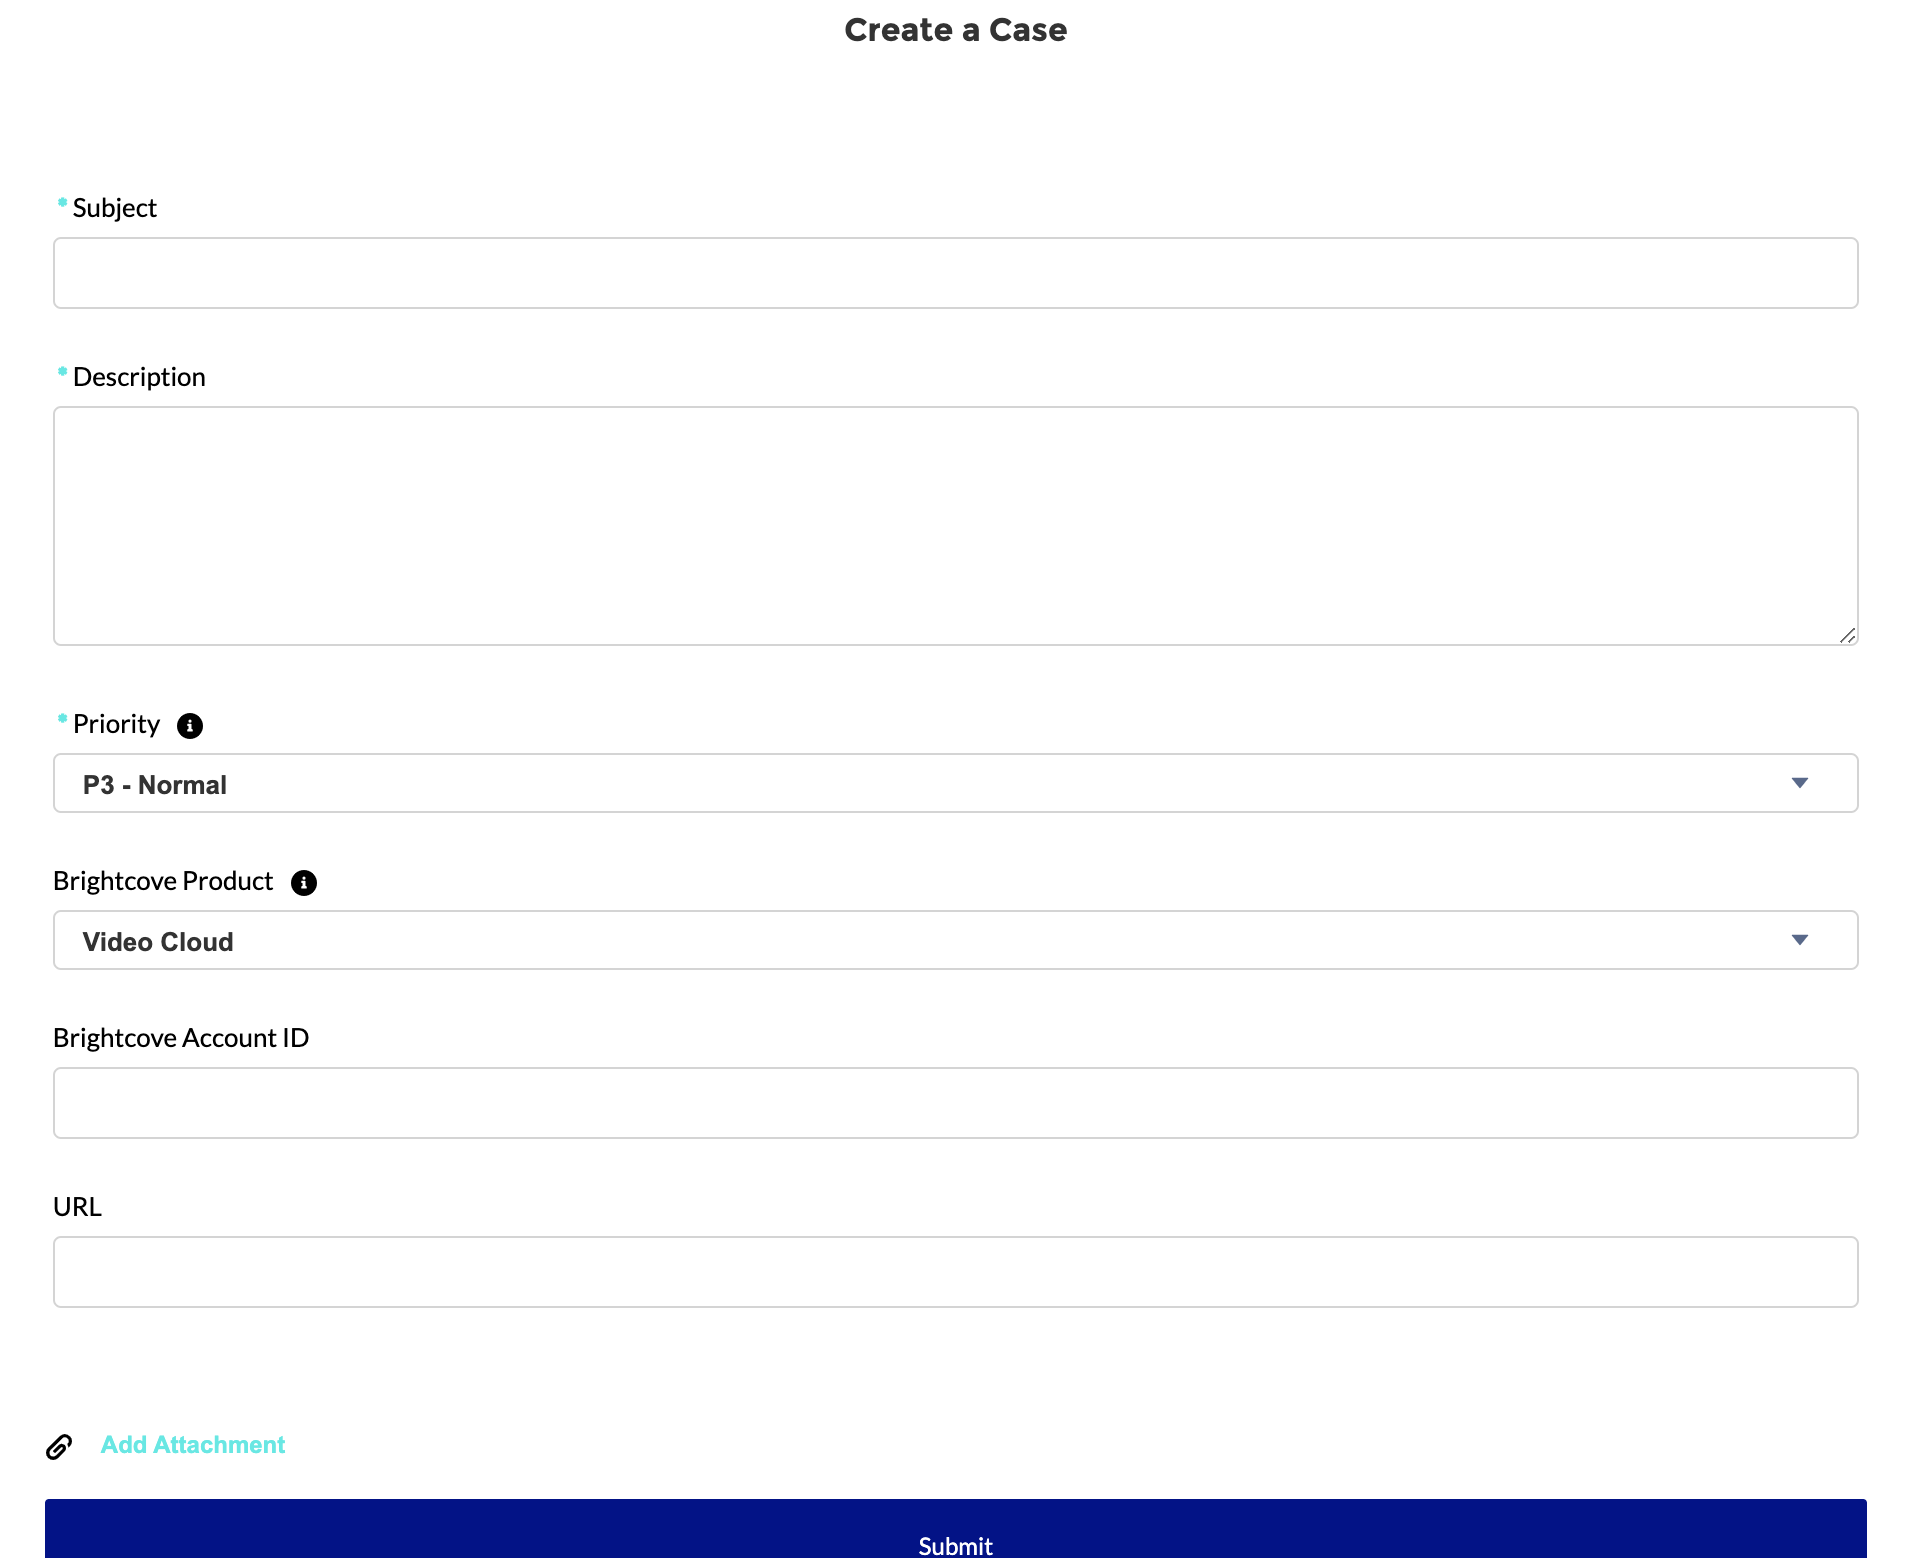
- Click Submit. The case details will be displayed.
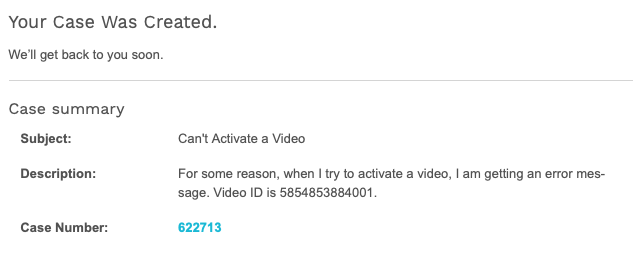
- Click on the Write a new comment... link to add additional comments or to upload a screen shot. Detailed steps to reproduce the issue and screen shots of the behavior/issue are always helpful to Brightcove Support and can speed up the time needed to resolve your case.
Viewing your support cases
All support cases can easily be viewed in the Support Portal. The CASE STATUS will be one of:
- New - Case was just created and is awaiting Brightcove review
- Open - Case is in progress
- Awaiting your response - Brightcove Support requires additional information or a solution has been provided and Brightcove is waiting for a response
- Closed - Case has been resolved
- Closed Awaiting - Case was closed due to no response from publisher; case will be reopened if publisher contacts Brightcove
To view your cases with Brightcove Support, follow these steps:
- Log in to the Brightcove Support Portal at https://supportportal.brightcove.com.
- Click SUPPORT CASES in the page header. A list of Open Cases will display.

- Click the Case History link to view a list of closed cases.
- Click on a Case Number to view the case details including comments from Brightcove Support.
Clicking on a column header will sort the list by that column.
Updating a support case
Once the case has been created, there are a few actions you can take to keep your cases up to date:
- Add new comments to communicate with our support team
- Upload or delete attachments with more information to help us identify the issue as fast as possible
- Update the case priority in the event that you need more attention on a case or it becomes more urgent than initially expected
- Update the CC list to add more watchers to the case
- Request case closure after your issue has been resolved
Viewing the Brightcove System Status page
Brightcove continuously monitors the status of all Brightcove Services. If there are any interruptions in service, a note will be posted on the System Status Page. All scheduled maintenance notices will also be posted.
To access the System Status page, login to the Support Portal and click SYSTEM STATUS in the page header or go to status.brightcove.com.
To learn more about the System Status page, see Viewing the Brightcove System Status Page.