Overview
Audience Insights generates daily data at the user level for subscription-based accounts and accounts that do not require a subscription.
These values can be transferred to your Marketo application using this integration.
Requirements
- Have viewer tracking enabled on your Video Cloud account.
- Being a user with an admin role in Video Cloud.
- Being a Marketo user with admin privileges
Create a Marketo Web Service
A web service in Marketo is required to obtain API credentials and communicate with this instance.
-
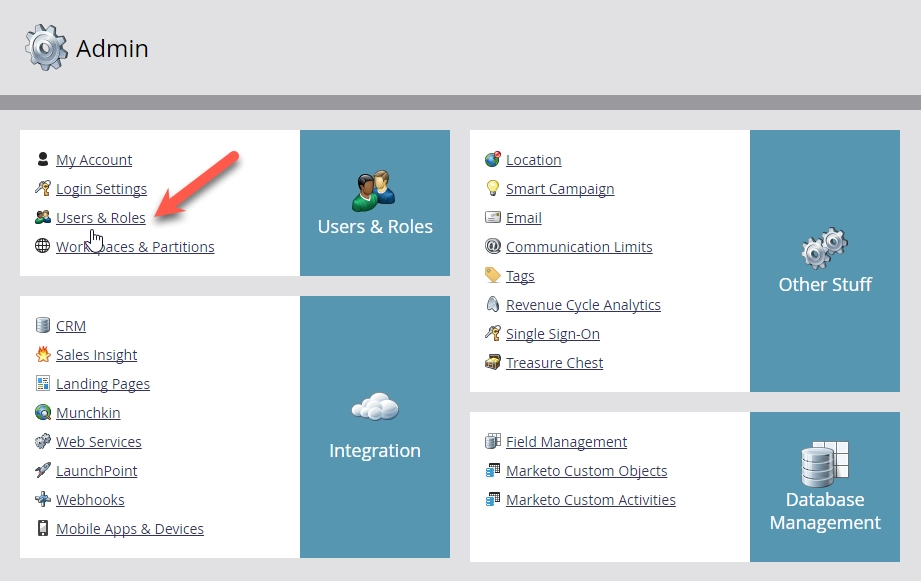
In Marketo, navigate to the Admin menu and Click Users and Roles.
-
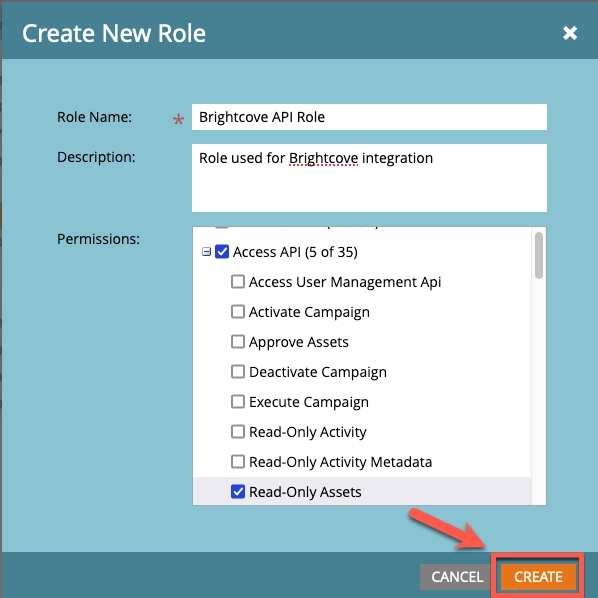
Select the Roles tab and Click on New Role.
Assign the following API permissions:- Read-Only Assets
- Read-Write Custom Object
- Read-Write Custom Object Type
- Read-Write Lead
-
Select the Users tab and Click Invite New User.
Enter the required fields, and Click Next.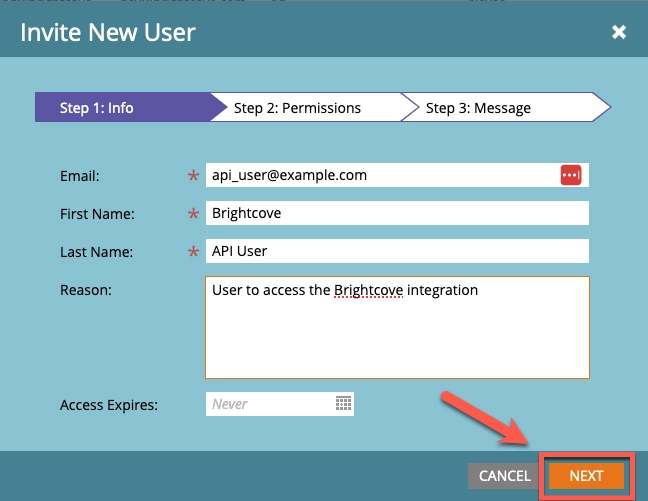
-
Select the API-Only option, Choose the Role you created in the previous step, and Click Next.
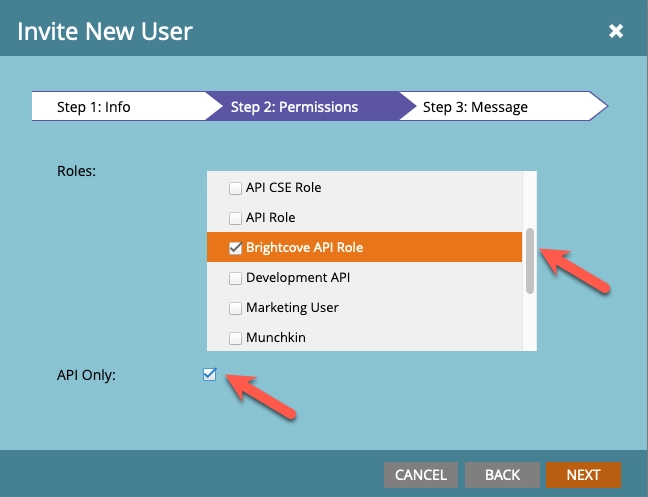
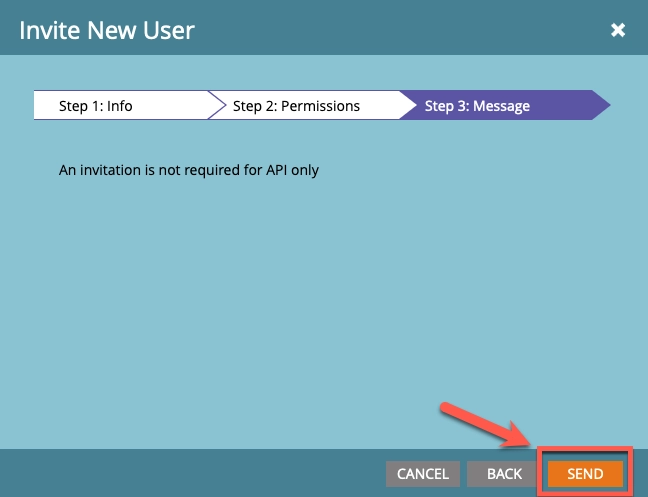
-
Click Send
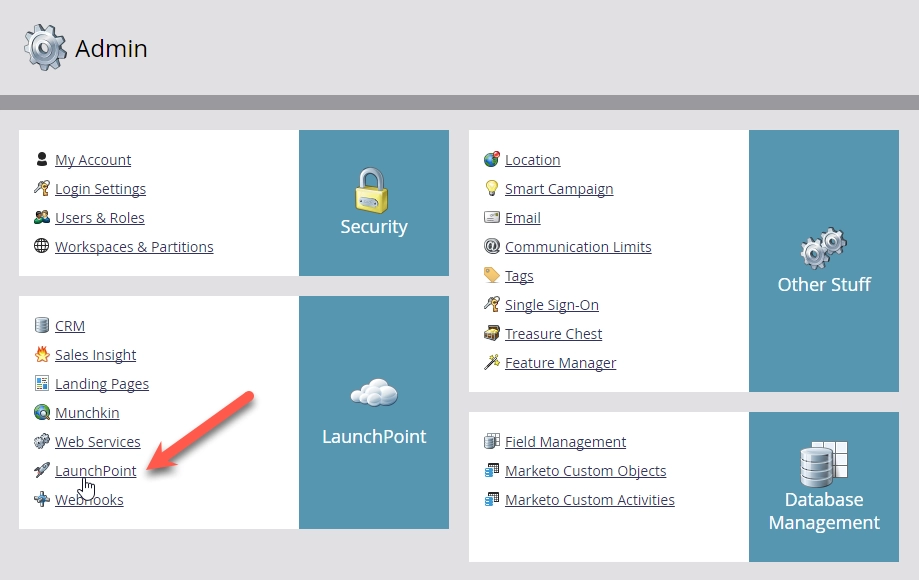
- Go back to the Admin menu and Click Launchpoint.
-
Click on the New menu and select New Service.
Enter the required fields, choosing Custom for the Service and the API-Only User created in the previous step.
Click Create.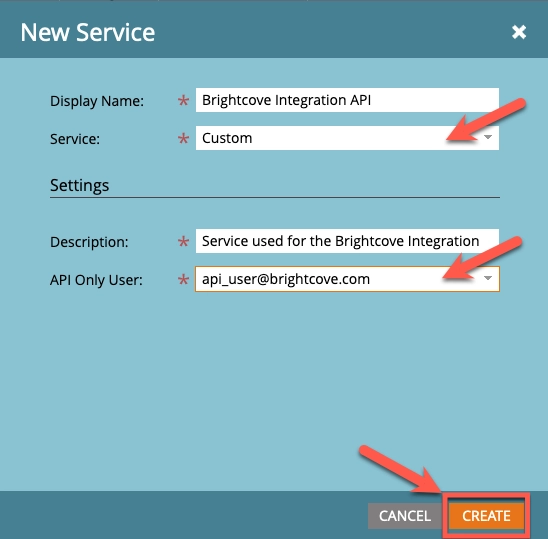
-
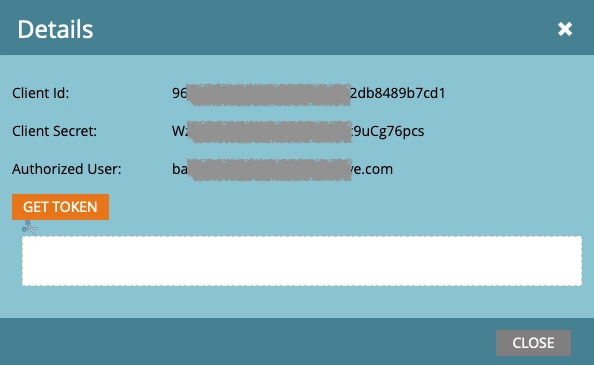
Click View Details for your new service to view the Client ID and Client Secret.
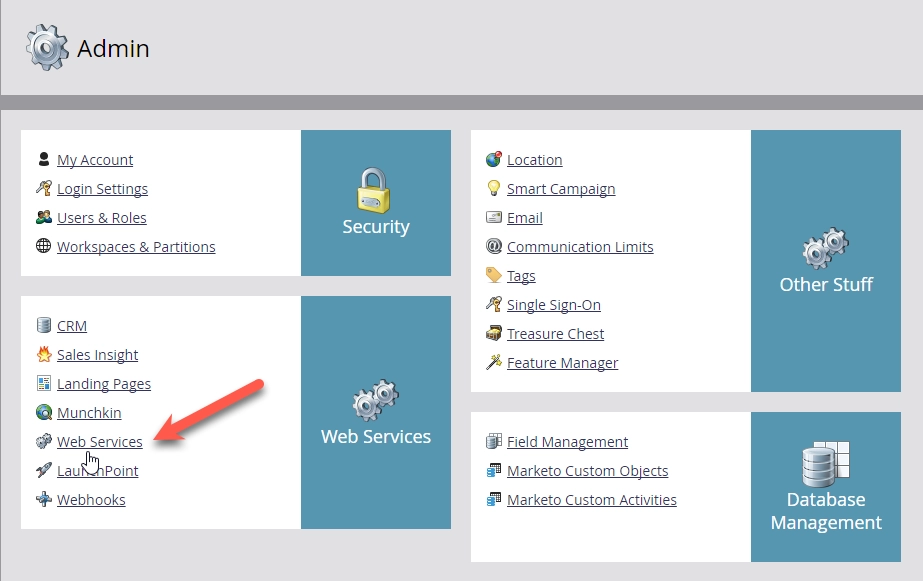
- Back on the Admin menu, Click Web Services.
-
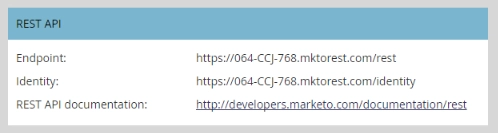
Locate the Endpoint in the REST API box.
Audience Insights Publish Integration Setup
Once the web service has been created in the Marketo instance, a publish integration can be added to the Audience Insights system.
Add Publish Integration
- Log in to Video Cloud Studio.
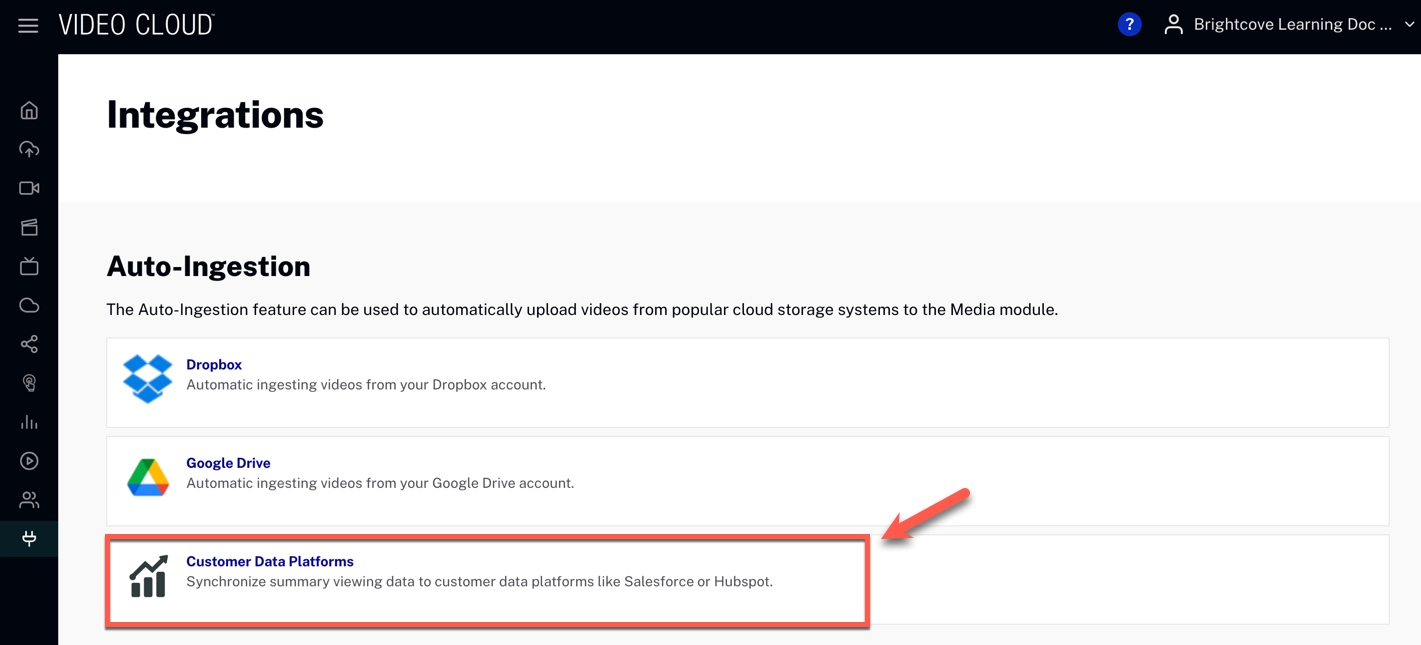
- Open the Integrations module.
-
Click Customer Data Platforms
- Click
-
Select Marketo from the Destination dropdown.
Fill out the Form and Click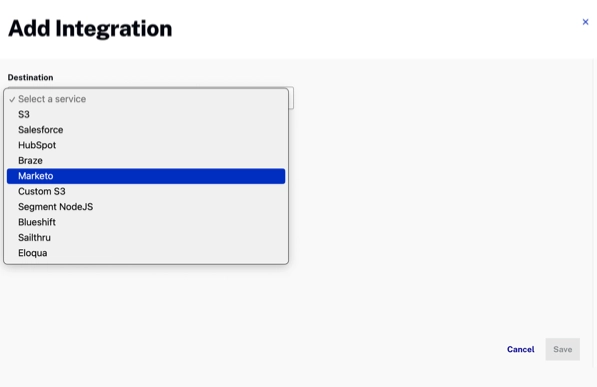
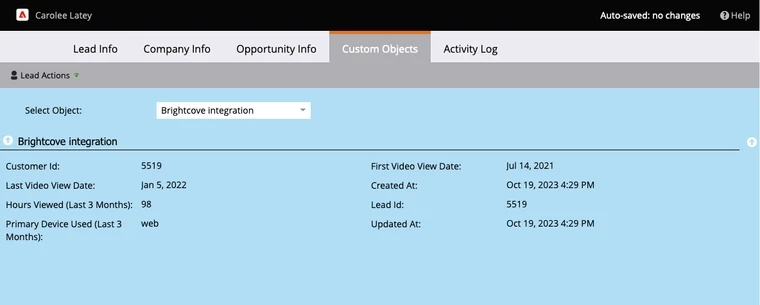
Viewing lead custom object fields in Marketo
This publish integration aims to create a custom object in Marketo named Brightcove that includes fields for the desired integration properties.
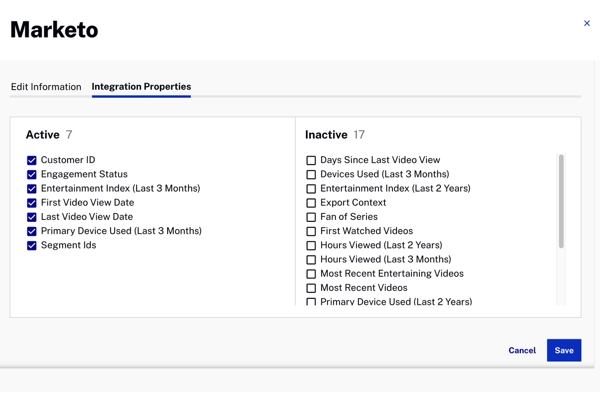
To view the selected fields, follow the next process:
-
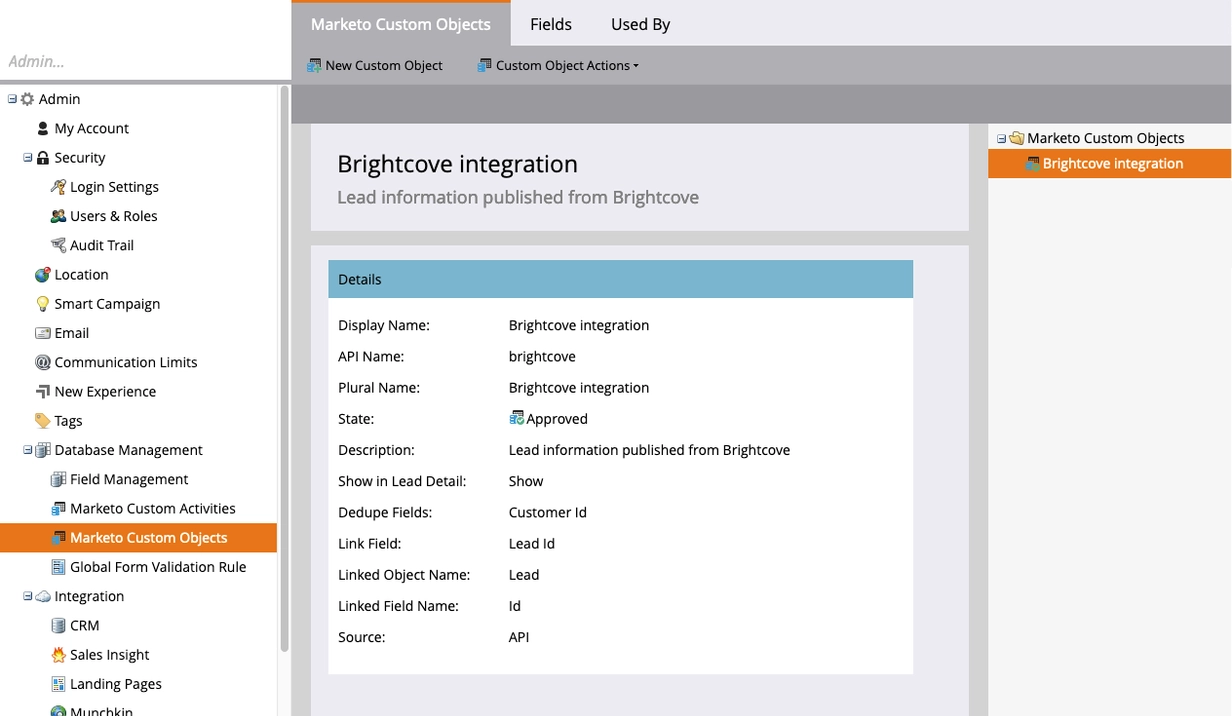
From the Admin menu in Marketo, navigate to Database Management -> Marketo Custom Objects and Click on the Brightcove Integration custom object.
-
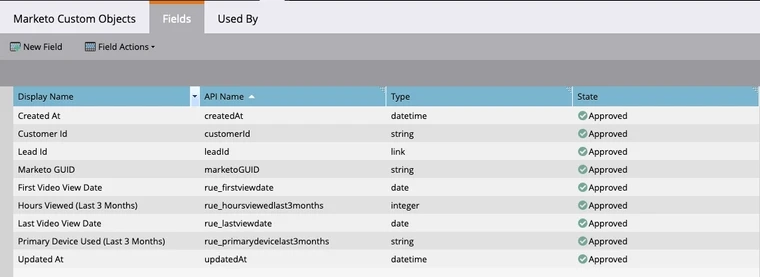
Click on the Fields tab to view all fields that have been defined for the Brightcove Integration custom object.
Switching account types in Audience Insights
In order to switch accounts and re-establish integrations successfully with the new account type, delete the existing integration by following the steps below:
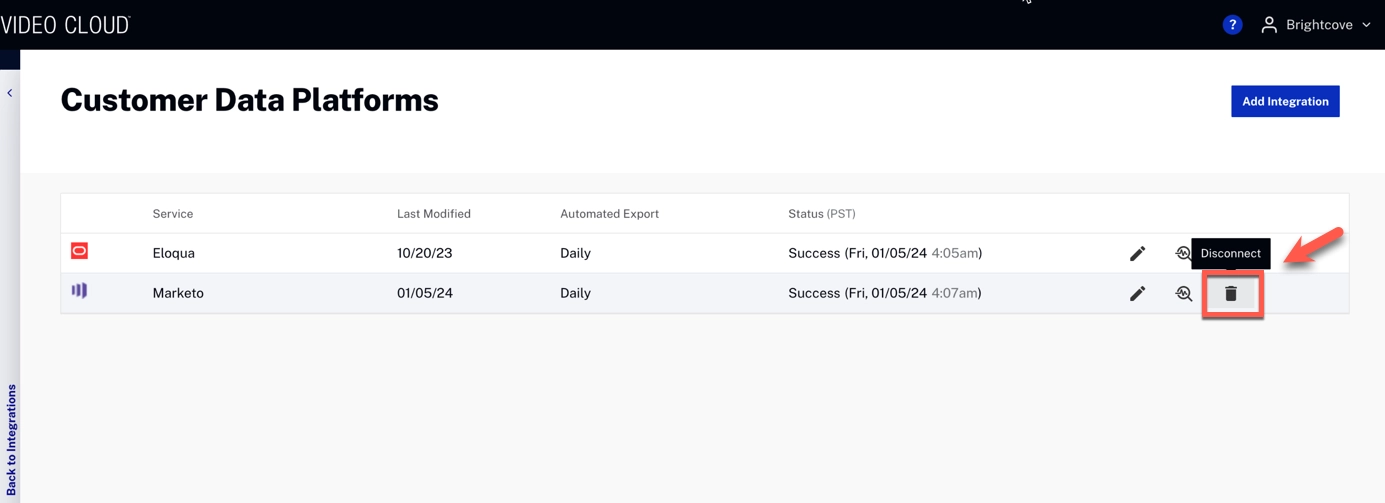
Delete Publish Integration
- Log in to Video Cloud Studio
- Open the Integrations module
-
Click Customer Data Platforms
-
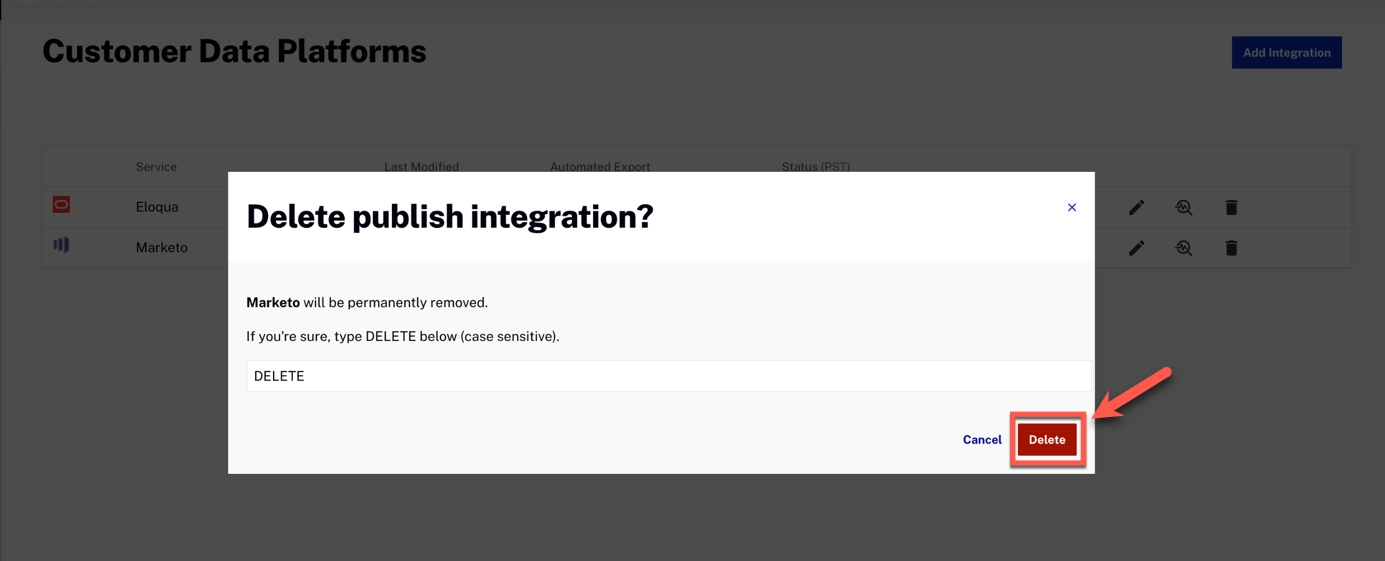
On the row for the Marketo integration, Click Disconnect (the trash icon)
-
Type “DELETE” in the text box and Click Delete